Introduction: The Rubik’s Cube has fascinated puzzle enthusiasts for decades. For many, it’s not just a game, but a challenge of logic, patience, and perseverance. Whether you’re new to the cube or have tried solving it but given up, this beginner’s guide will walk you through the basics in 7 simple steps. By the end, you’ll be able to solve the Rubik’s Cube and impress your friends with your skills!
Step 1: Understand the Basics of the Rubik’s Cube
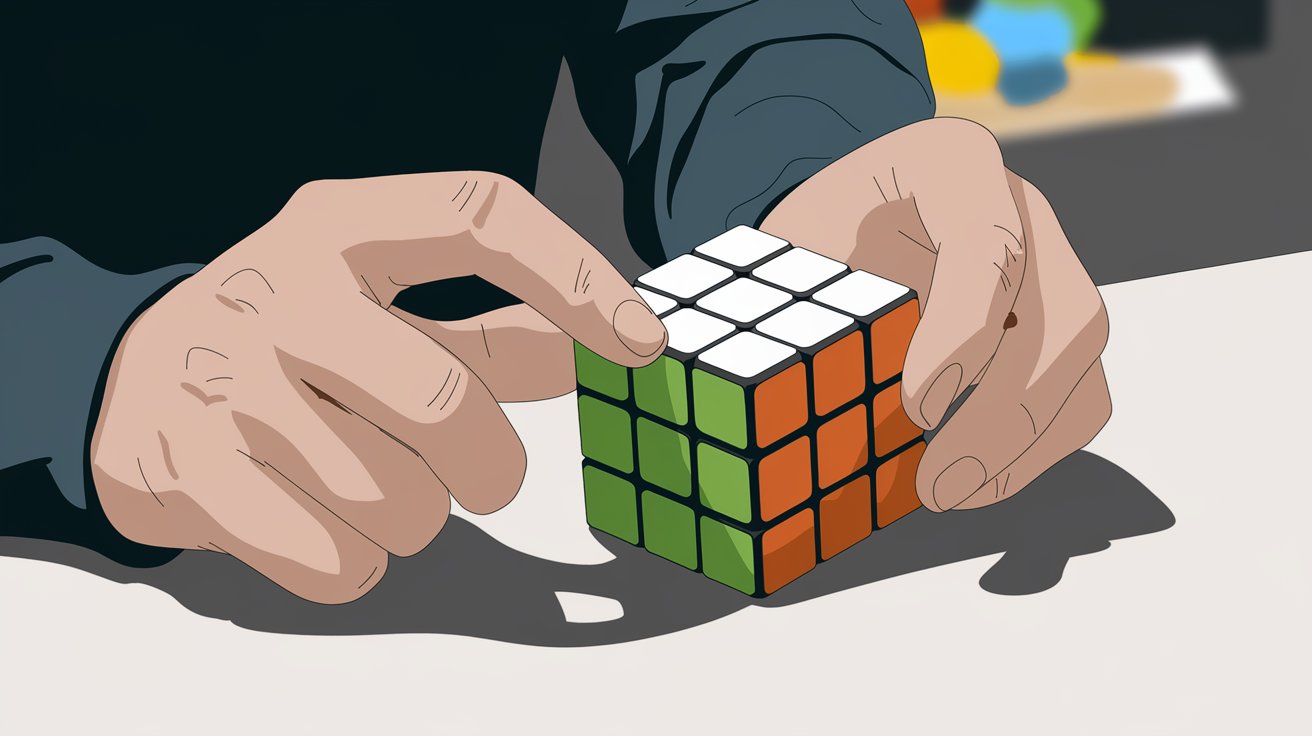
Before diving into solving, it’s important to understand the structure of the Rubik’s Cube. The traditional cube has 6 faces, each with a different color. Every face consists of 9 squares. Each move you make will rotate a section of the cube, and the goal is to return all faces to a single color.
- Center pieces: These are fixed and denote the color of each face. No matter how much you twist and turn the cube, the centerpieces will stay in place.
- Edge pieces: These have two colors and are located between the centerpieces.
- Corner pieces: These have three colors and are at the corners of each face.
Step 2: Solve the White Cross
The first step in solving the Rubik’s Cube is to create a white cross on the top face. This is often called “building the cross.”
- Find the white edge pieces: Look for the four white edge pieces that need to form a cross around the white center.
- Position the edges: Bring each white edge piece into place so that it matches both the white centerpiece and the color of the adjacent face.
Tip: You don’t need to worry about the corners at this stage, only the edges. Take your time as this step lays the foundation for the rest of the solve.
Step 3: Solve the White Corners
Once the white cross is in place, it’s time to complete the white face by solving the corners.
- Locate the white corner pieces: These pieces have white plus two other colors.
- Place the corner pieces: Rotate the cube to position each white corner piece correctly. The piece should match the adjacent colored centers.
This step can be tricky as you might need to adjust multiple pieces to get the correct alignment, but don’t worry if it feels slow at first!
Step 4: Solve the Second Layer Edges
With the entire white face completed, the next step is to solve the middle layer. This means getting the edge pieces in their correct places without disturbing the white face.
- Find the edge pieces: Look for edge pieces on the top layer that don’t contain yellow.
- Insert the edge pieces: Use a simple algorithm to move these edge pieces into the correct positions in the middle layer without disrupting the white face.
Once you’ve completed this step, you should have the white face and the second layer completely solved, leaving only the yellow layer.
Step 5: Solve the Yellow Cross
Next, you’ll need to form a yellow cross on the top face, similar to what you did with the white cross. This step focuses on aligning the yellow edge pieces while ignoring the corners for now.
- Identify the yellow pattern: You may see several patterns on the yellow face—just a yellow dot, an L-shape, a line, or even a yellow cross.
- Use the algorithm: Depending on what pattern you see, use a set algorithm to manipulate the top layer and form the yellow cross.
This stage might require repeating the algorithm multiple times until the yellow cross appears.
Step 6: Position the Yellow Corners
With the yellow cross in place, it’s time to position the yellow corner pieces. You don’t need to rotate them correctly yet, but they should be in the right positions.
- Find a corner in the right spot: You may notice some corners are already in the correct positions, even if they’re not properly rotated.
- Use the corner positioning algorithm: Apply an algorithm to shift the yellow corners until all of them are in their correct positions.
At this point, the cube should look scrambled except for the correct placement of all corner pieces.
Step 7: Orient the Yellow Corners
The final step in solving the Rubik’s Cube is to rotate the yellow corners so they are properly oriented. This step requires a bit of patience as you’ll need to perform a specific algorithm multiple times to correctly rotate each corner without disturbing the rest of the cube.
- Focus on one corner at a time: Apply the algorithm to rotate the corner until it matches the yellow face.
- Move on to the next corner: Once the first corner is correctly oriented, move on to the next one.
With all corners correctly oriented, congratulations! You’ve solved the Rubik’s Cube!
Tips for Faster Solves
- Practice makes perfect: The more you practice, the faster you’ll be able to solve the cube. Speedcubers can solve it in under 10 seconds!
- Learn advanced methods: Once you master the beginner’s method, consider learning more advanced techniques like the CFOP method to improve your solving time.
- Stay patient: Solving a Rubik’s Cube takes time and practice, especially at the beginning. Don’t be discouraged if you don’t get it right away—each attempt brings you closer to mastering it.
Conclusion
Solving a Rubik’s Cube is a rewarding experience that challenges your mind and improves problem-solving skills. With this beginner’s guide, you’re well on your way to mastering the cube. Start by following the 7 simple steps, practice regularly, and soon enough, you’ll be solving the Rubik’s Cube with ease!